Airgap Virtual Machine (VM) Install#
Go to the download portal using the URL and the password provided by Arthur.
Select the “Embedded cluster” option.
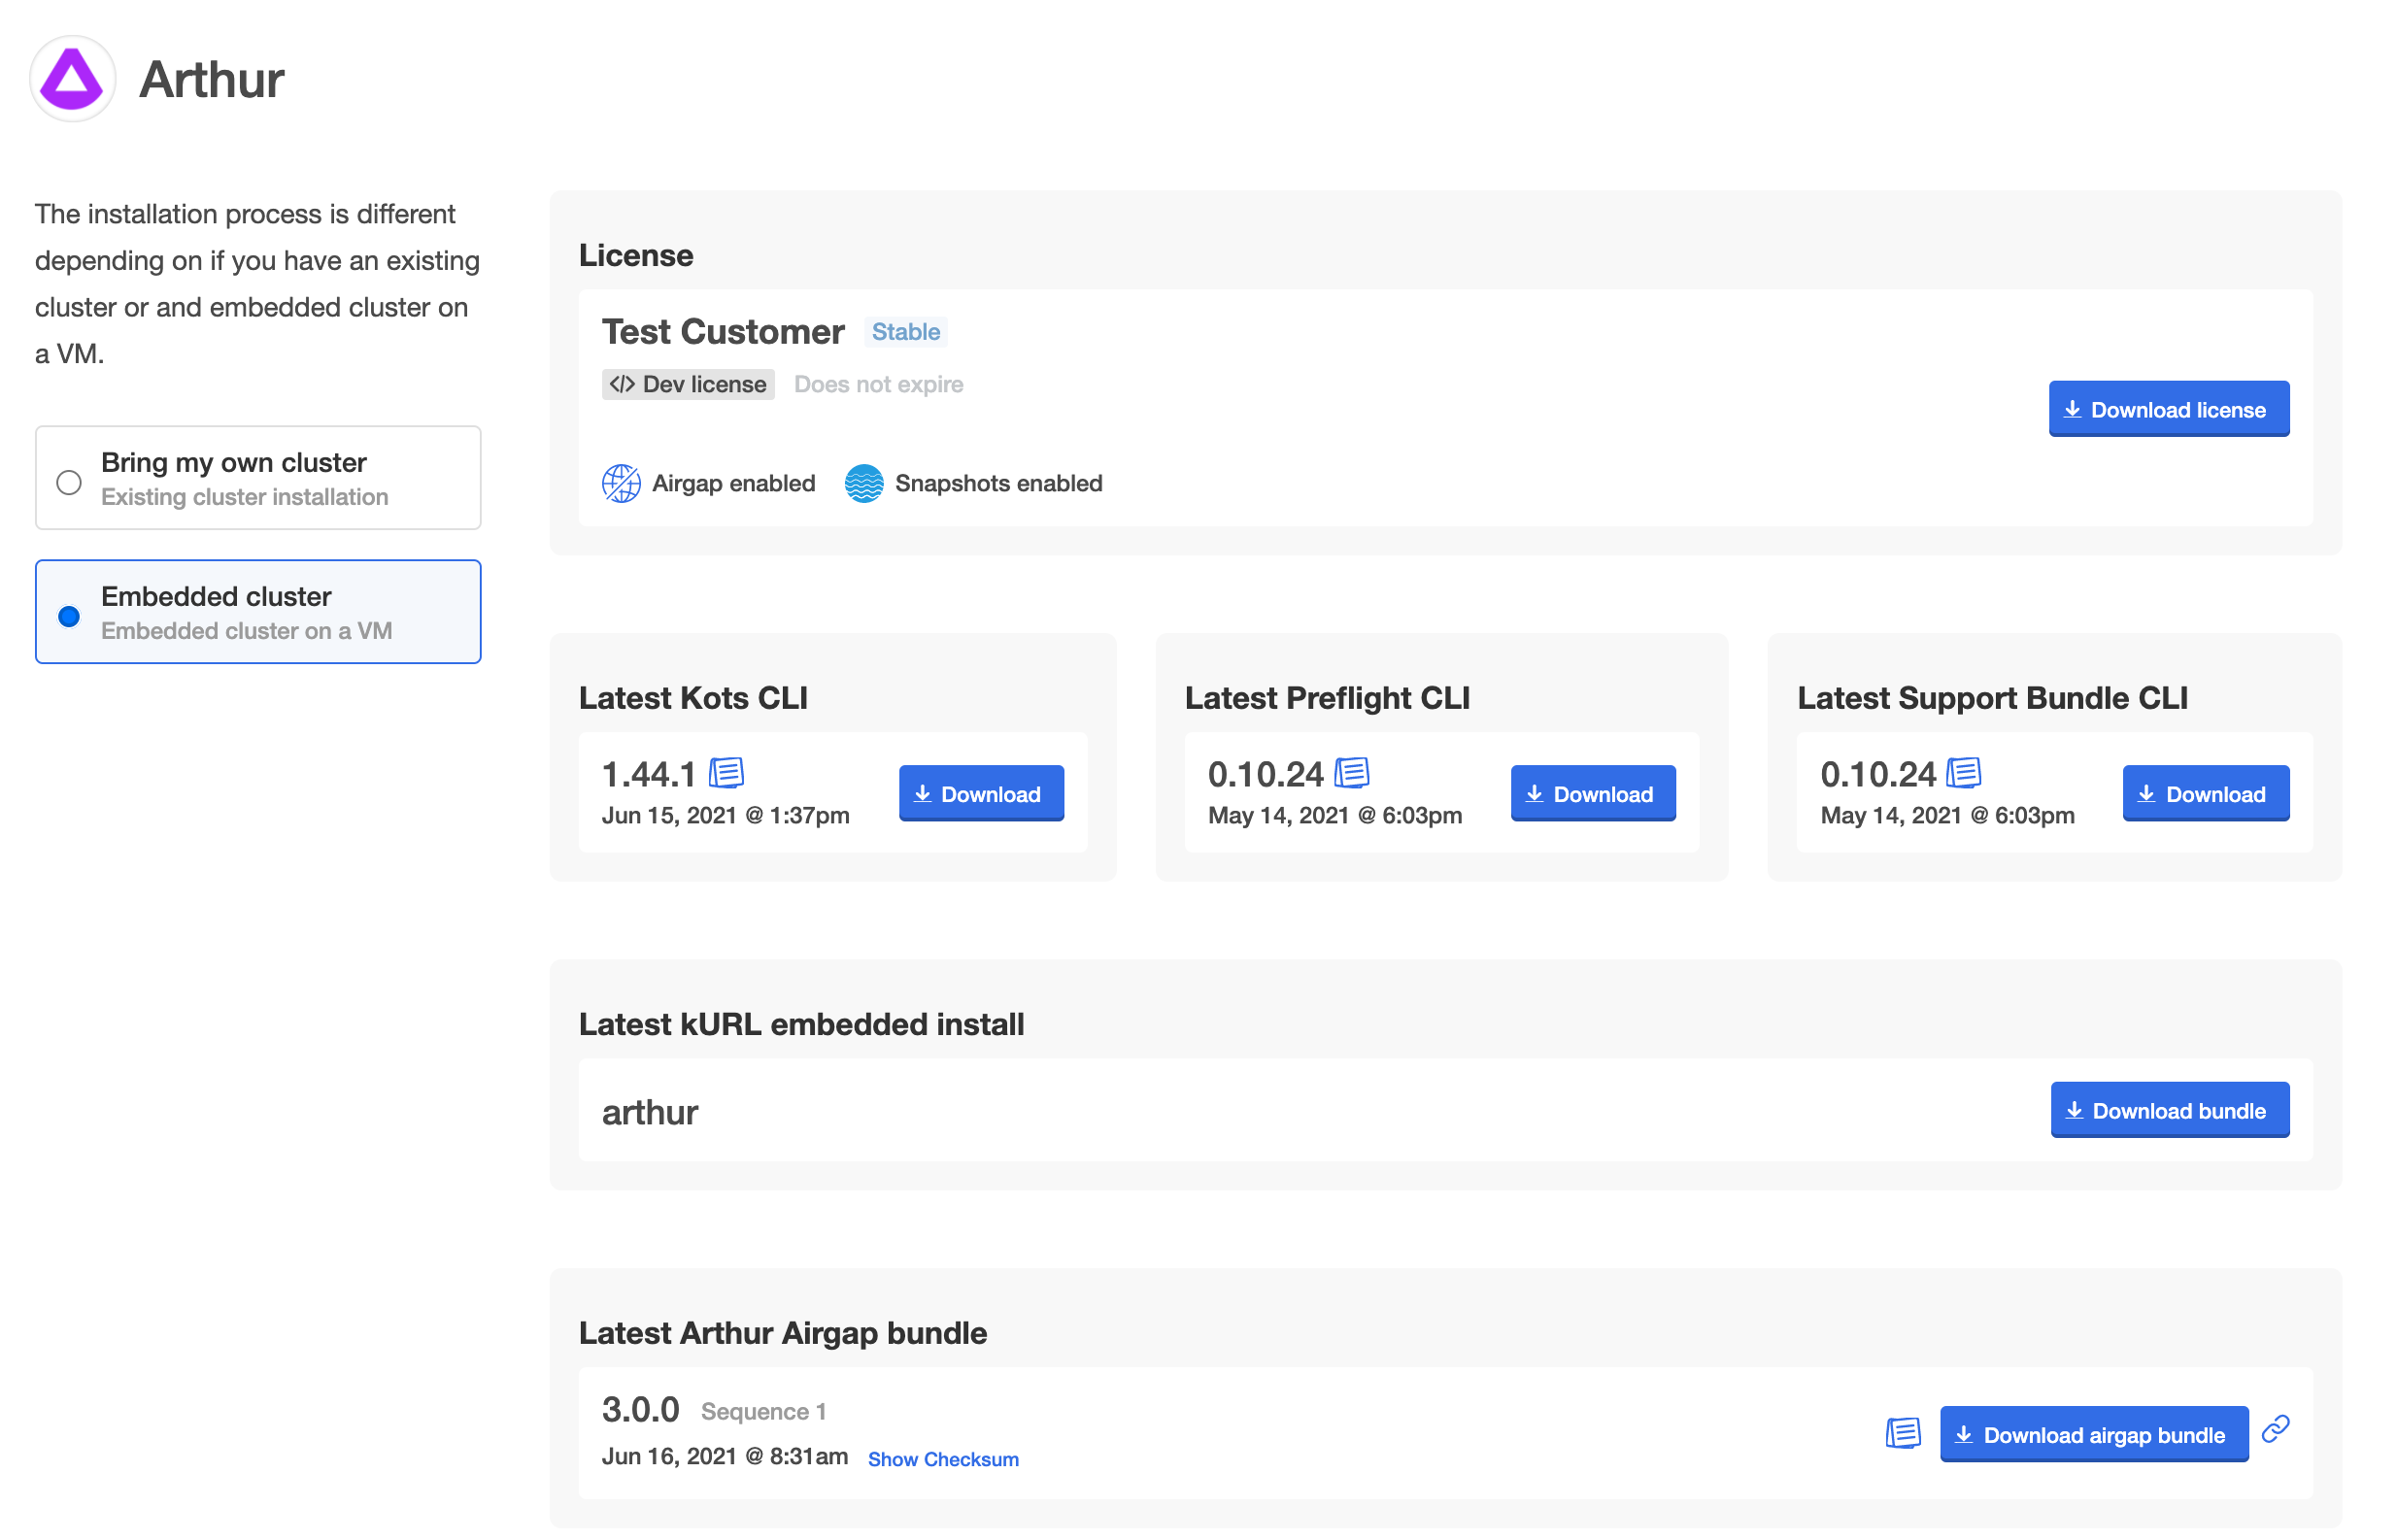
Click the “Download license” button to download your license in YAML file.
Download the “Latest kURL embedded install” and the “Latest Arthur Airgap bundle”.
Preparing the embedded cluster#
Arthur leverages Kubernetes as the base. This step installs the base Kubernetes cluster and Arthur’s Admin Console on your VM with a single CLI command.
First, upload the kURL embedded install bundle on your VM instance. Example:
scp -i mykey.pem ~/Downloads/arthur.tar.gz ubuntu@hostname:arthur.tar.gz
Unpack the bundle and install the embedded Kubernetes cluster on your VM instance.
tar xvf arthur.tar.gz
cat install.sh | sudo bash -s airgap
Save the output from the install which includes the Kotsadm Admin Console URL and the password. You now have a K8s cluster, kubectl CLI, and the Admin Console installed on your VM.
Deploying the application to the embedded cluster#
Load the Admin Console UI on port 8800 from your browser using the Kotsadm URL and the password you recorded earlier.
Follow the instructions on the Admin Console to complete your installation by providing the arthur-x.x.x.airgap bundle and necessary configurations.
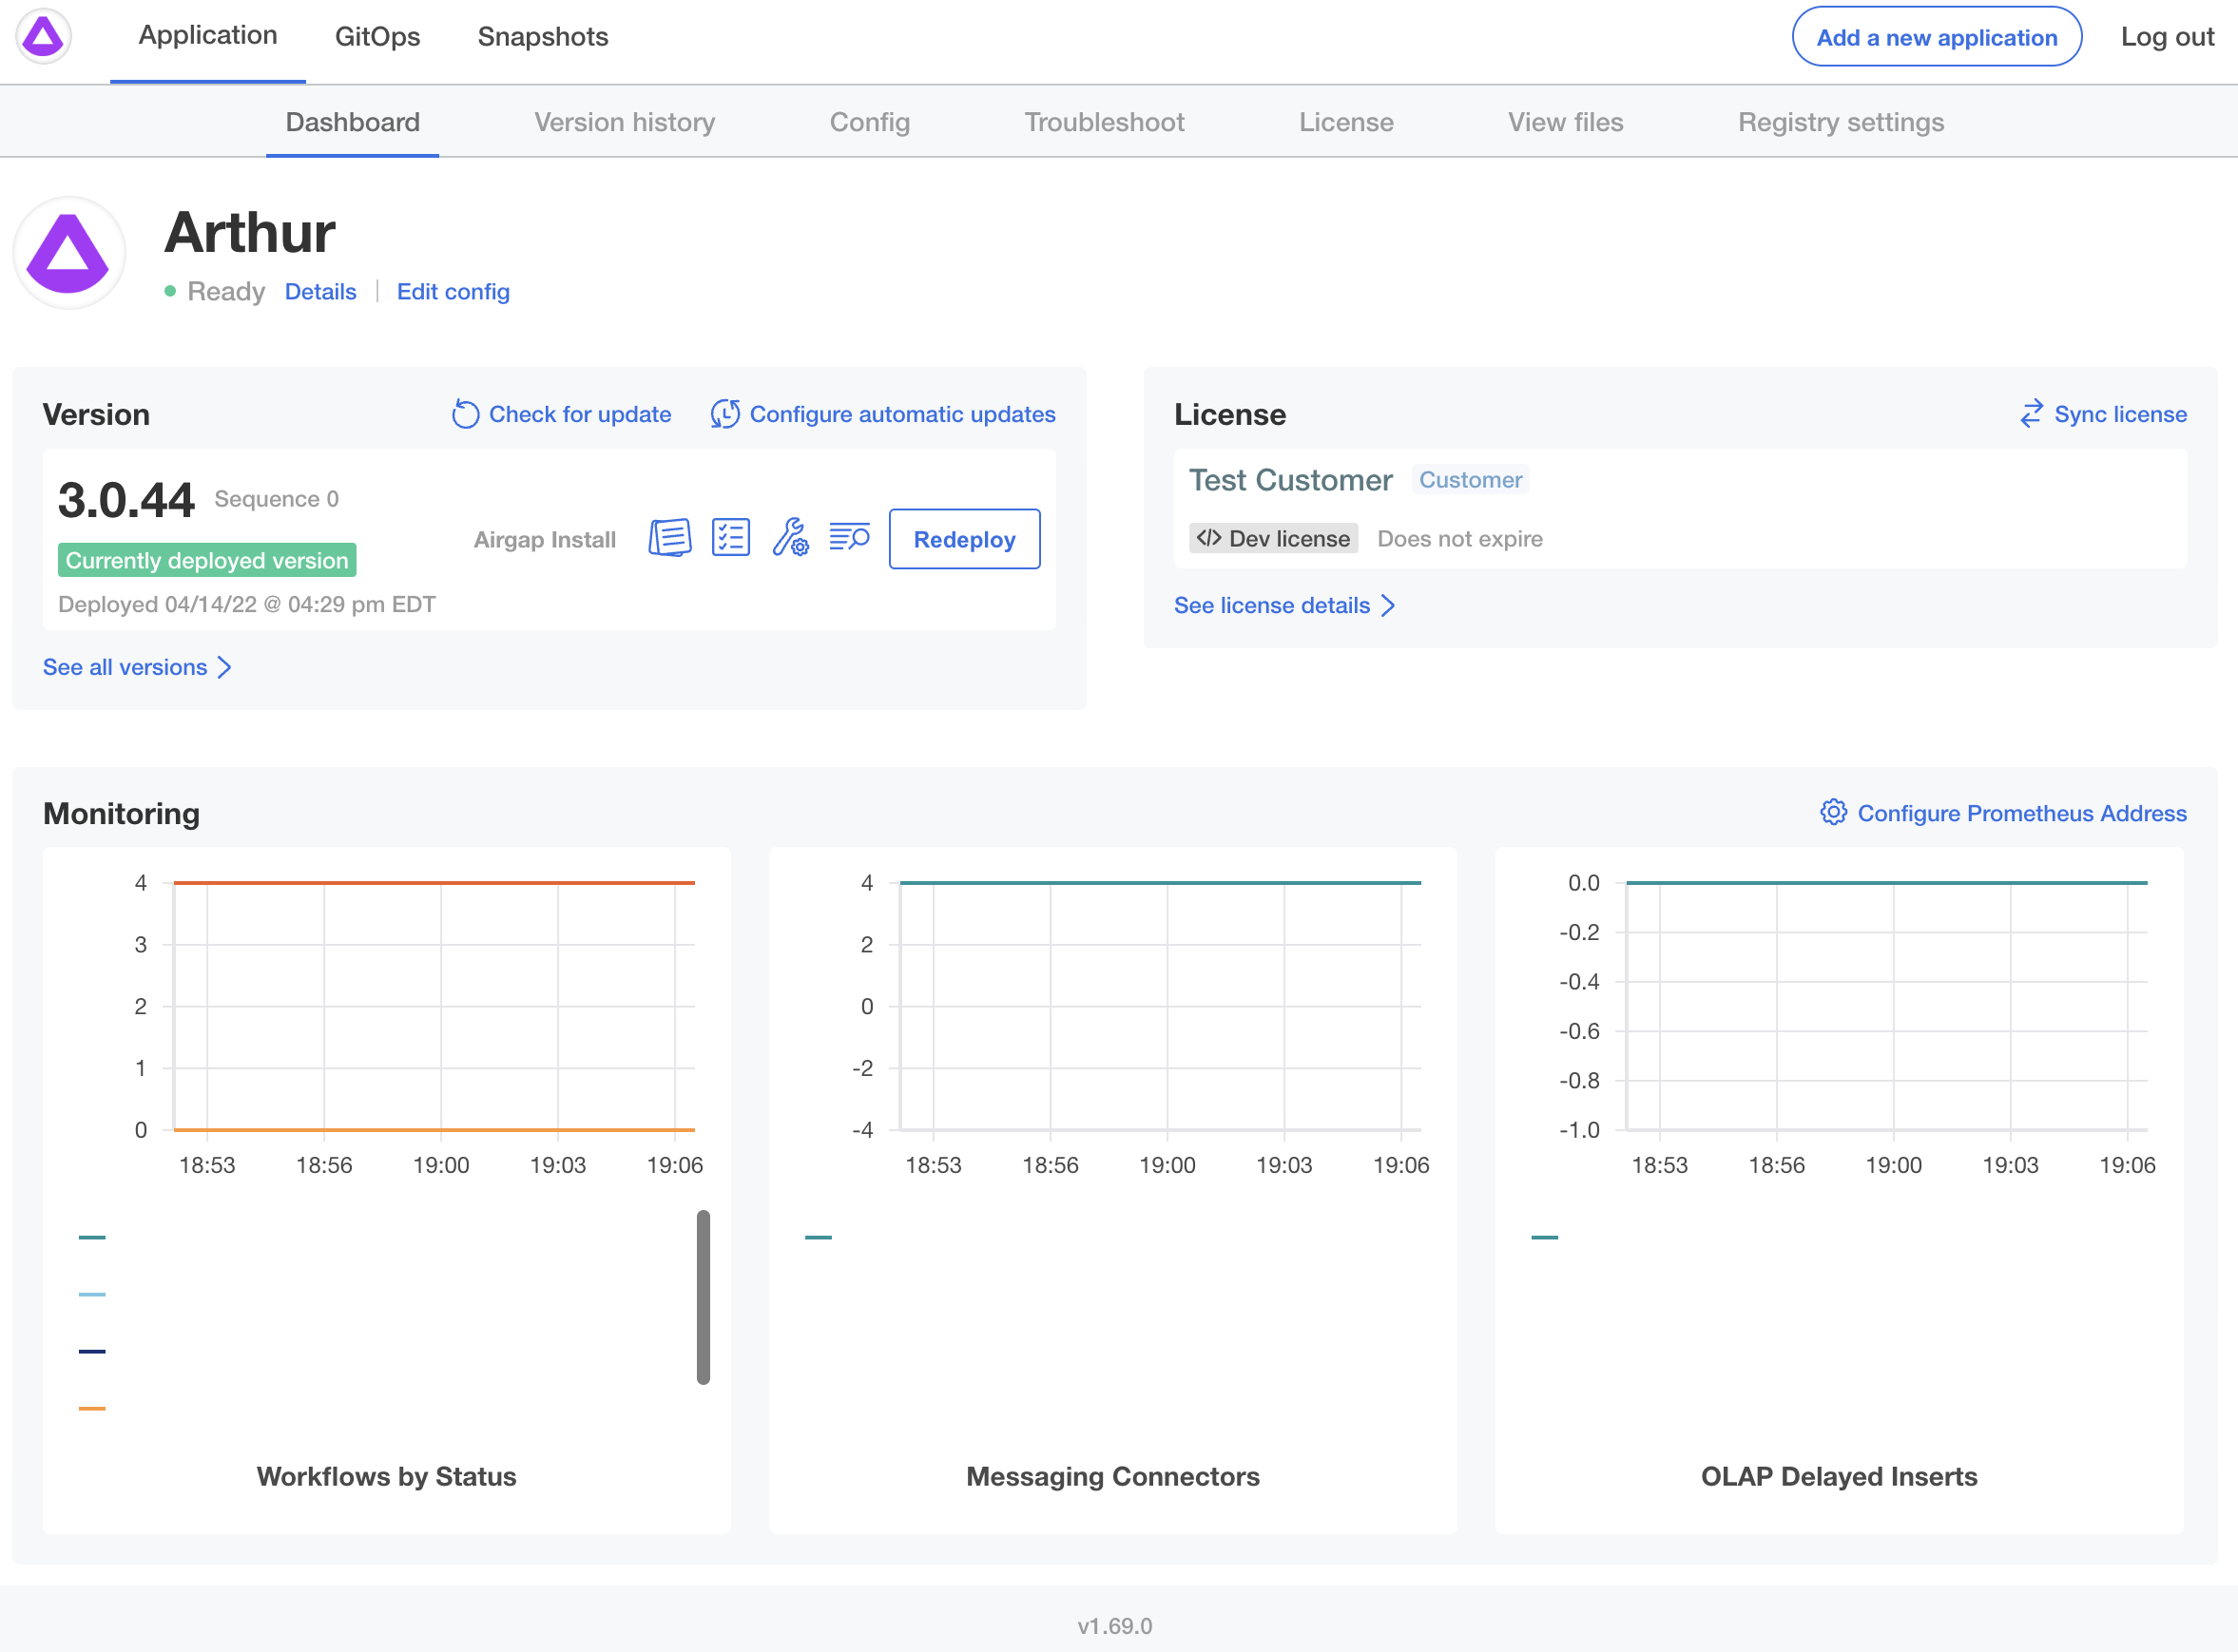
Monitor the Admin Console dashboard for the application status to become Ready.
To see the progress of the deployment, monitor the deployment status with kubectl CLI on the VM:
# Reload your shell if you haven't
bash -l

kubectl get deployment,statefulset,pod
If anything is showing Pending, it is likely you need to add more/bigger nodes to your cluster.
Note: You may also follow the instructions here to install the Admin Console and Arthur app programmatically using the CLI only.